How to Winterize Your Camper

Frosty Nights, Cozy Adventures: How To Winterize Your Camper
Even the gorgeous Sunshine State experiences the chilly effects of winter. Cold temperatures can damage your RV and prevent proper function if you don’t prepare for the season beforehand. Carpenter’s Campers is here to share
how to winterize a camper before your next big adventure. Follow along to score our checklist for winterizing an RV at
Carpenter's Campers!

Drain Your RV
Draining your RV is the first step for
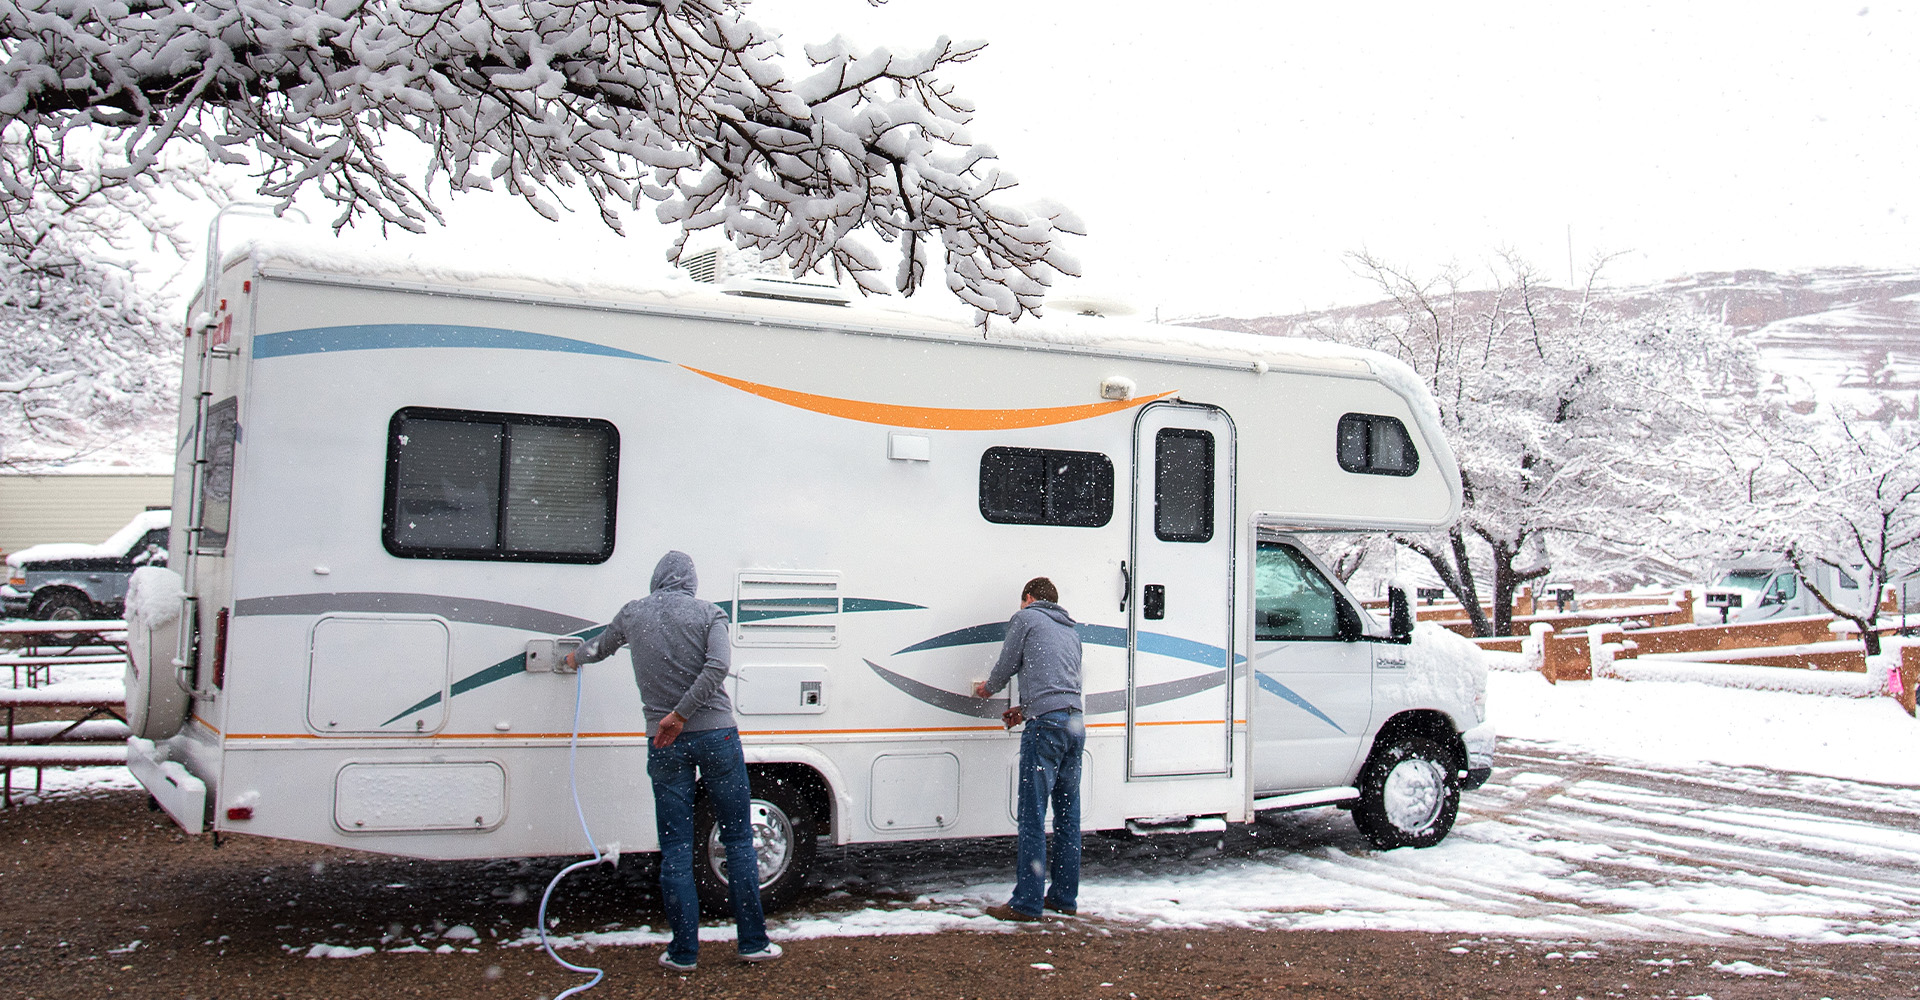
how to winterize a pop-up camper. Begin by disconnecting your RV from any water source and turning your water heater off. Next, drain your RV and water heater by unlatching the low-point drains directly beneath your RV.
Clean the Water Lines
Clean the water lines of your RV with an air compressor and blowout plug. Bypass your water heater to keep it from filling with non-toxic antifreeze, and then connect the blowout plug to an air compressor and clean on a low pressure to avoid damaging the plumbing system.
Add Non-toxic Antifreeze
Add non-toxic antifreeze using a hand pump by the outside water intake. Finish by adding it to the kitchen and shower drains.

Check Outside Seals
Other ways you can learn
how to winterize a 5th-wheel camper include checking the outside seals of the RV and adding caulk to manage the humidity during the colder months. Add extra protection by covering your RV with a tarp and moving out of direct sunlight.
Discover the Benefits
Prepare for the winter season and learn how to winterize your camper with Carpenter’s Campers. Schedule a service appointment with our experienced RV technicians for additional assistance.


